
Making Mini-Tramps Safe
This article is aimed at a school setting, not gymnastics clubs.
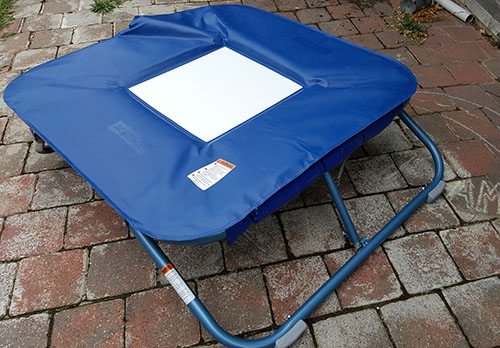
So you've got yourself a nice shiny new mini-trampoline, probably either directly, or indirectly from Acromat. If it's anything like the ones that we get, it's probably arrived pre-assembled, which is great if you are using it in a gymnastics club, nut not so good in a school setting. There's a few things that we recommend that you do to make it safe, and reduce the possible injuries that could occur.
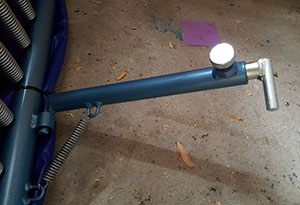
The first thing to notice is that the arm that hold up one of the legs has a bolt in it to adjust height on one side, and thus the angle of the trampoline.
When set-up the way that it came shipped, the bolt will stick out into the landing area. It's not a problem if you are working with advanced kids that would land nowhere near it, but when you are working with junior kids whom may fall backwards, a bolt up the bottom is not too comfortable.
We need to change this so that the bolt points back in under the trampoline instead.
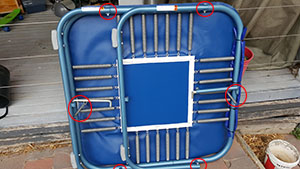
To do this, you need to remove both of the legs, and the arms. There are two screws per leg, and the arms are held on with springs. Remove the screws first, then swap the legs over so they sit in the brackets on the opposite side. So you are just reversing the position of the legs.
Once the legs are attached in their new position, you can put the arms back in (which will now also go in the opposite holes).
Now, when the trampoline is setup the bolt should point under the trampoline, instead of protruding into the landing area.
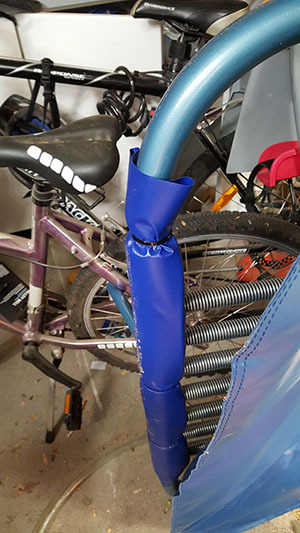
Now that the bolt is fixed, we need to add a little extra padding. You can see in the picture that we've added an extra layer of padding around the bar on the landing side of the trampoline. Again, this is for the kids who fall backwards and sit on the bar.
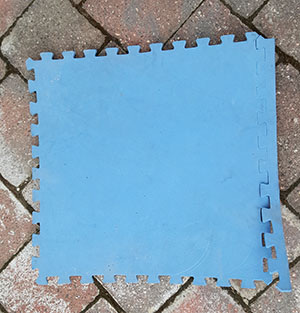
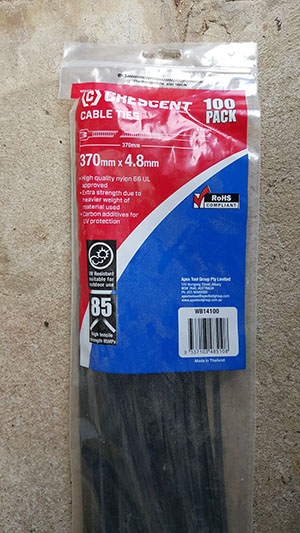
Bunnings is the place to go here, you are looking for jig-saw tiles, and cable-ties. The Jig-Saw pieces (the solid bit measuring the inside of the tabs are 58cm x 58cm) you will normally find on the end of an aisle, and the cable ties (370mm x 4.8mm) in the electrical section. Vinyl can be found in the flooring section, you only need about 30cm so spend a bit extra and get some nice thick stuff.
Take one of the jig-saw pieces, and use some scissors to remove the tabs around the outside. Measure 11cm in from one end, and cut across to make a foam tile 58cm x 11cm.
Take the vinyl, and cut out a piece about 64cm x 22cm. The vinyl will wrap around the foam tile that you just made.
Take the new wrapped tile, and place it centered on the bar on the landing side of the trampoline. Start at one end, make sure that the vinyl is nicely tucked in around the pad, and secure it with a cable tie. Move to the middle and do the same thing, then one more on the other end. Add a couple more for good measure.
It's a pretty straight forward exercise, but your students bottoms will thank you for it! Happy Teaching!