
How To: Make a Scooter Board

Total cost - a bit of time and about $15 per scooter board.
See previous article Super Scooters for some fun scooter board ideas, more to come.
Disclaimer: The measurements in this article are what I have found to be a good balance between portability, functionality, and safety. Your experiences may differ.
You Will Need
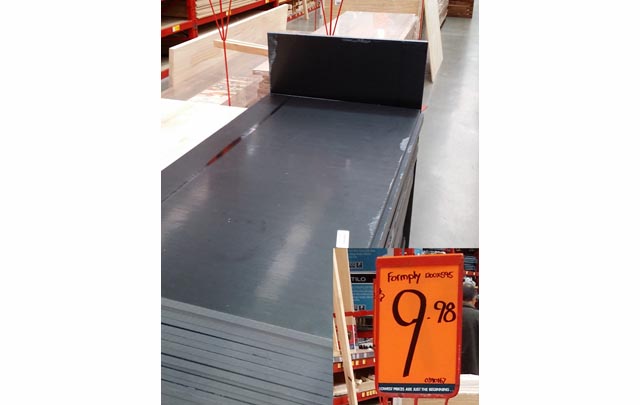 Plywood (1200 mm x 595mm at Bunnings ‘Formply’ - $9.95) – Comes in a large sheet, you can cut out multiple boards.
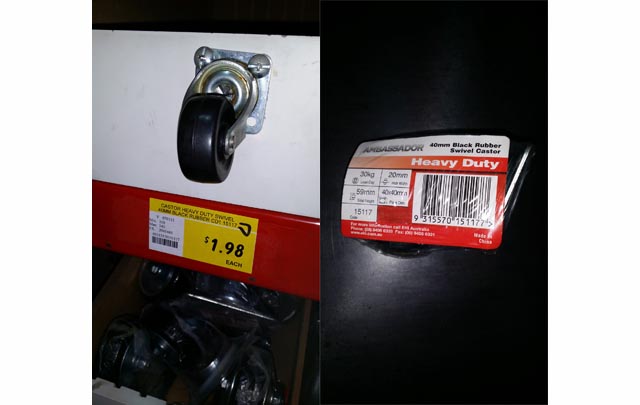
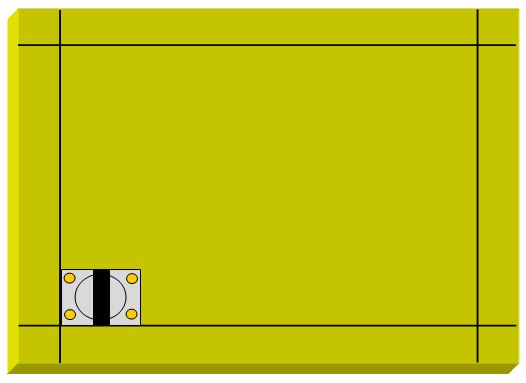
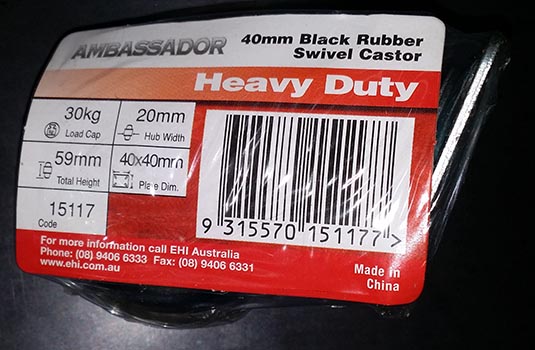 Wheels – They need to swivel, you want the ones with ball bearings and a plate that you can screw to the bottom of the board. Get small ones, if they are too big the board will sit too high off the ground and become unstable, or fingers could get caught in them. Don’t touch the ones that screw through the board – these come unscrewed and fall off. The ones in the picture are from Bunnings, $ 1.98 each, but they no longer stock them. They have magic white ones now that cost just over $4 and do the same thing.
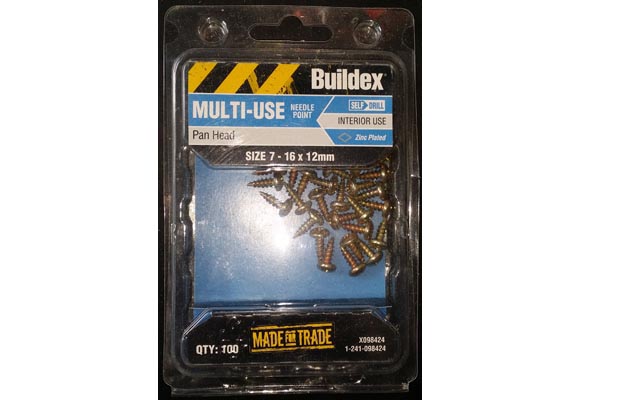 Screws – This is to attach the wheels to the board.
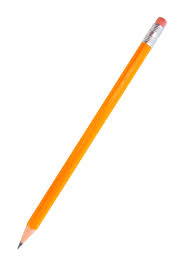 Pencil – To mark where to cut.
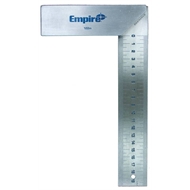 Try / Set Square – for nice straight lines at 90deg.
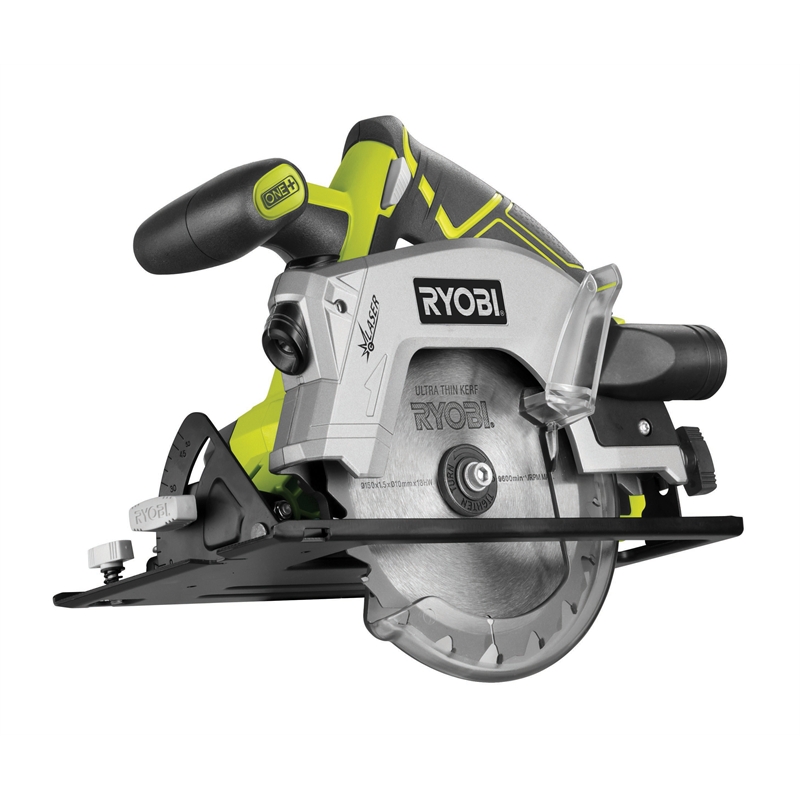 Power saw – You can use a hand saw, but it’s much easier with a powered saw.
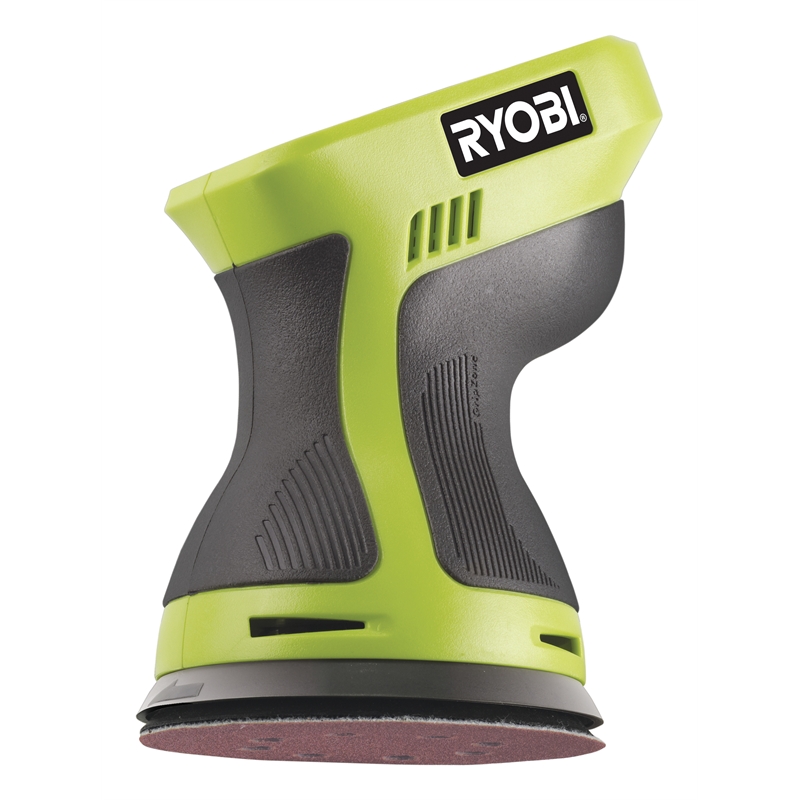 Sandpaper / Electric Sander – Again, you can do it by hand but if you have a powered sander it’s much easier.
 Paint / Varnish – Whichever takes your fancy, if your painting then use an oil based enamel, I’ve found it to be more durable.
Method...
1. Start with the plywood, use a pencil to mark in 250 mm from the left, at both the top and bottom of the board. Use a ruler or straight length of timber or metal as an edge to help draw a straight line on the timber connecting the two marks.
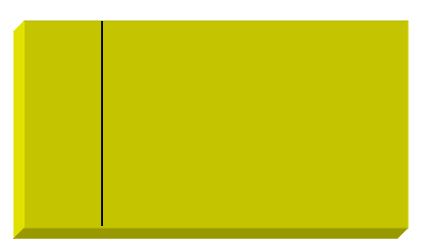
2. Using a saw, cut the board along the line. If you have a drop saw big enough you can use this to get a nice straight cut. I don’t have one. To get a long straight cut with a circular saw (pictured), I use a long piece of timber or metal.
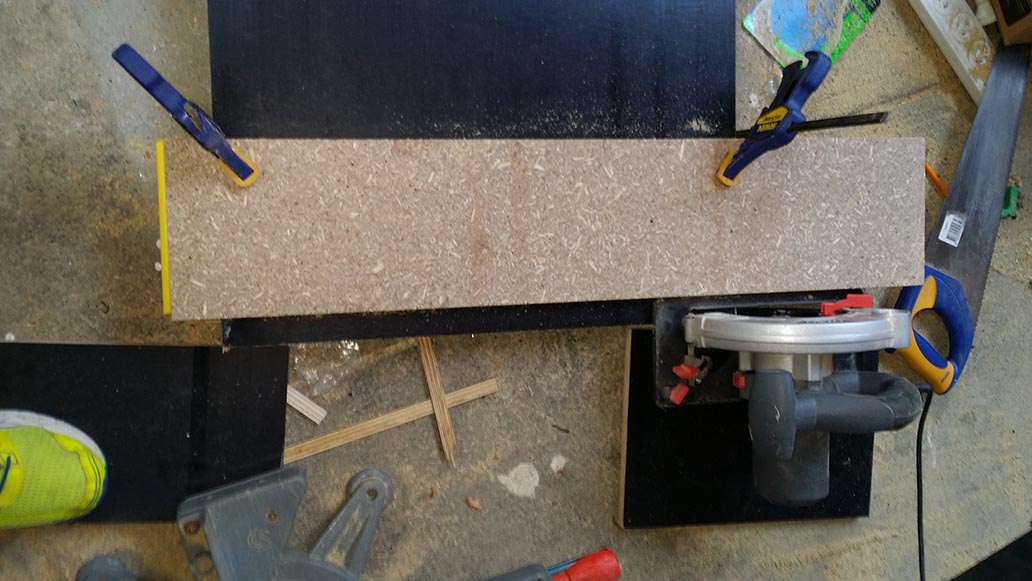
Line up the blade of the saw with the pencil line on the timber. Mark on the timber where the edge of the metal plate of the saw sits (it’s normally about 35mm from the blade). Measure how far from the cutting line this mark is. Mark the same distance at the other side of the board. Clamp your nice long bit of straight wood to the board on this new line. Saw the board with the plate of the saw hard up against the clamped on timber. This will give you a nice straight cut.
3. On the smaller piece you just cut off, measure and mark a line 354 mm from the bottom. Do as above to cut along this line.
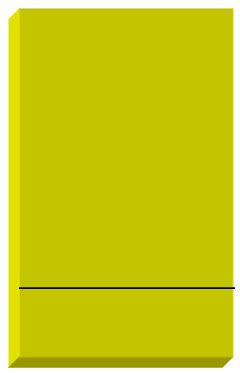
You should now have a small rectangle of plywood measuring 250 mm by 354 mm. This is the top of your scooter board.
Why 250 mm by 354 mm? It is stable enough, and fits nicely into the metal box I use to transport all my trinkits. It also allows the boards to be stacked in a way the is very compact (upside down they fit inside each other at 90 deg angles. The 354 mm came from Pythagoras constant, and is also the same ratio used for A4 paper.
4. Grab out the sander and sand all the edges, so that it is nice and smooth. Don’t forget to blunt the edges and corners of the board as well.
5. On the underneath of the board (whichever side you choose to make the bottom), use a try / set square to measure and mark a line 15 mm from the edge of the board. Do the same on all 4 edges.
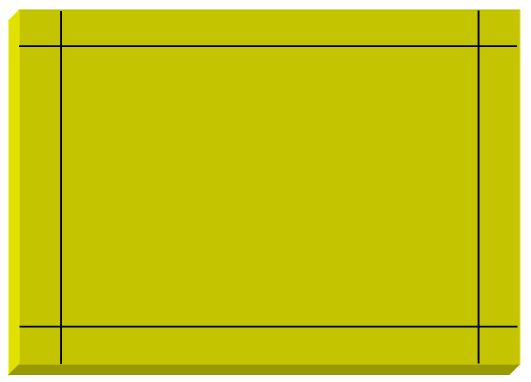
6. Position the wheel so that the edge of the bottom plate of the wheel is on the 15mm line you just drew. So the fastening plate of the wheel is 15mm from the corner. Any closer to the edge and the board will not be strong enough to hold the screw closest to the corner of the board.
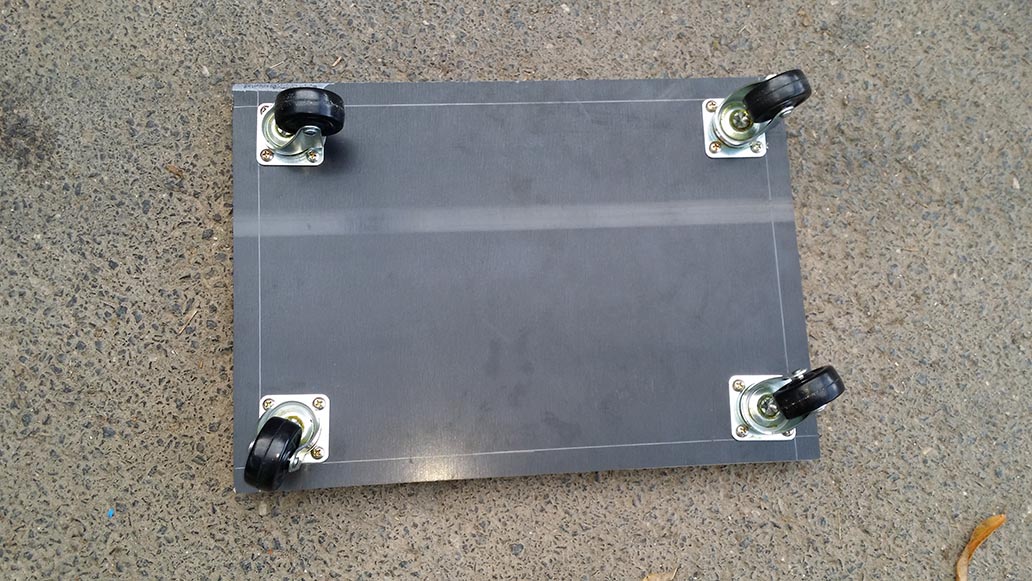
7. Use either a power drill or hand screw driver to screw in 4 screws to attach the wheel to the board.
8. Repeat steps 6 and 7 for all 4 corners.
9. Paint or varnish to your liking.
Total cost - a bit of time and about $15 per scooter board.